


 You know what goes great with your oven mitts??
You guessed it.
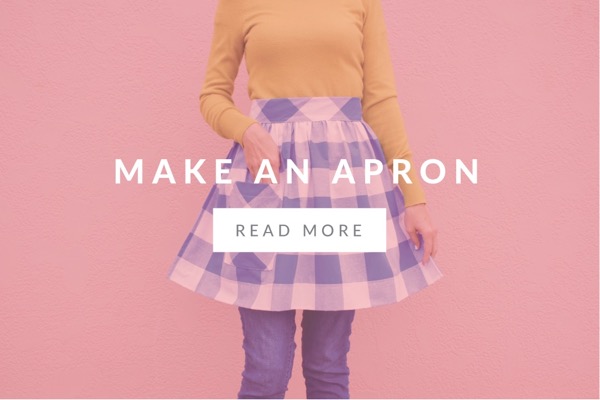
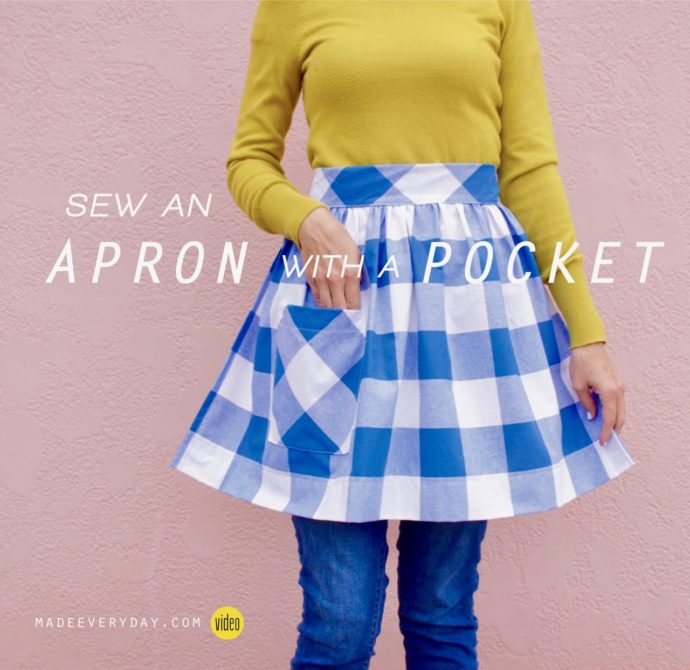
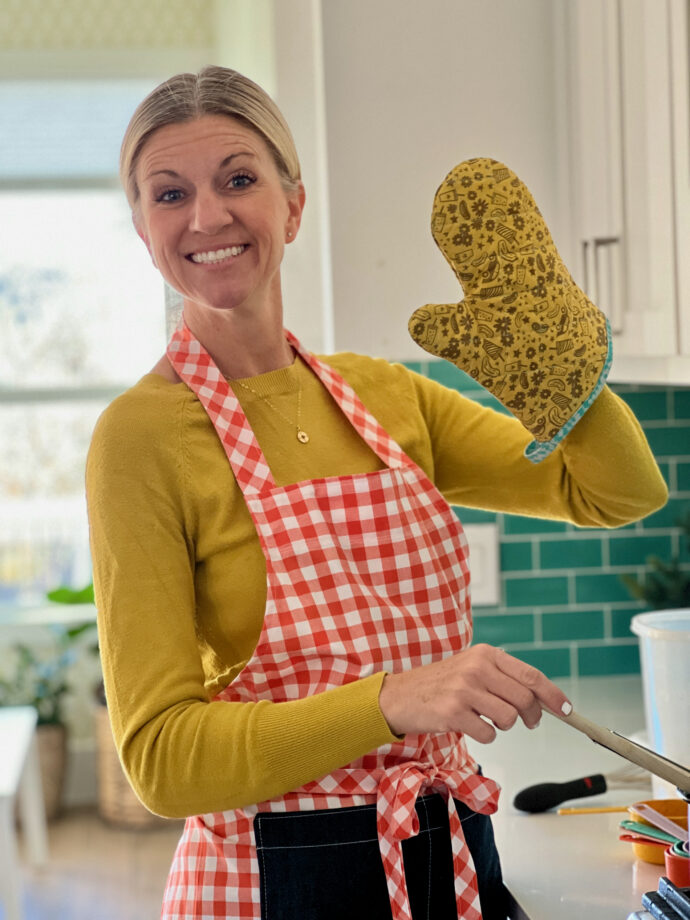
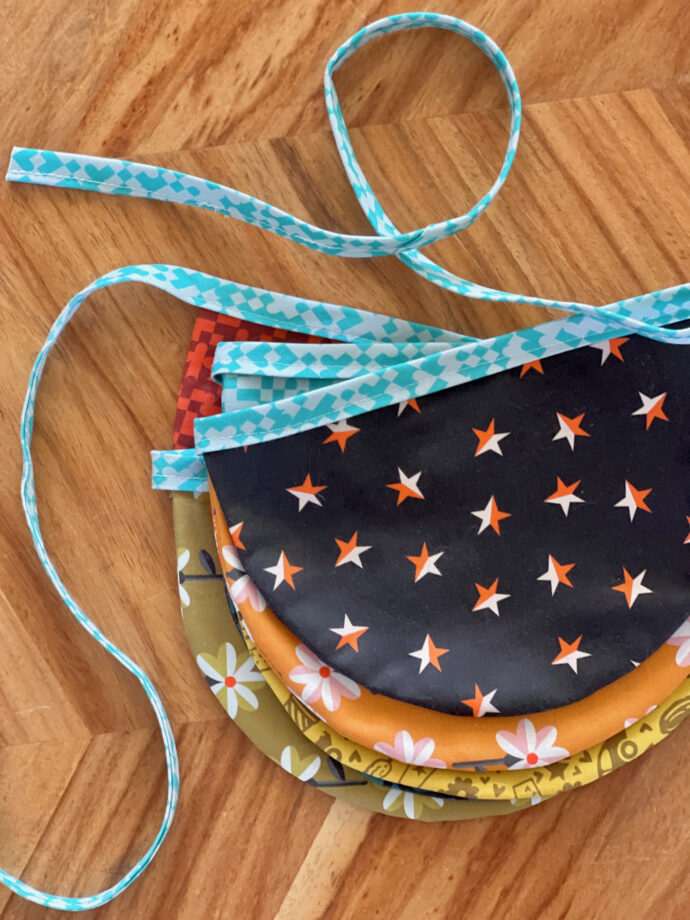
An APRON!….with a free pattern….and only 30 minutes to whip one up.
YESSSSSSS.
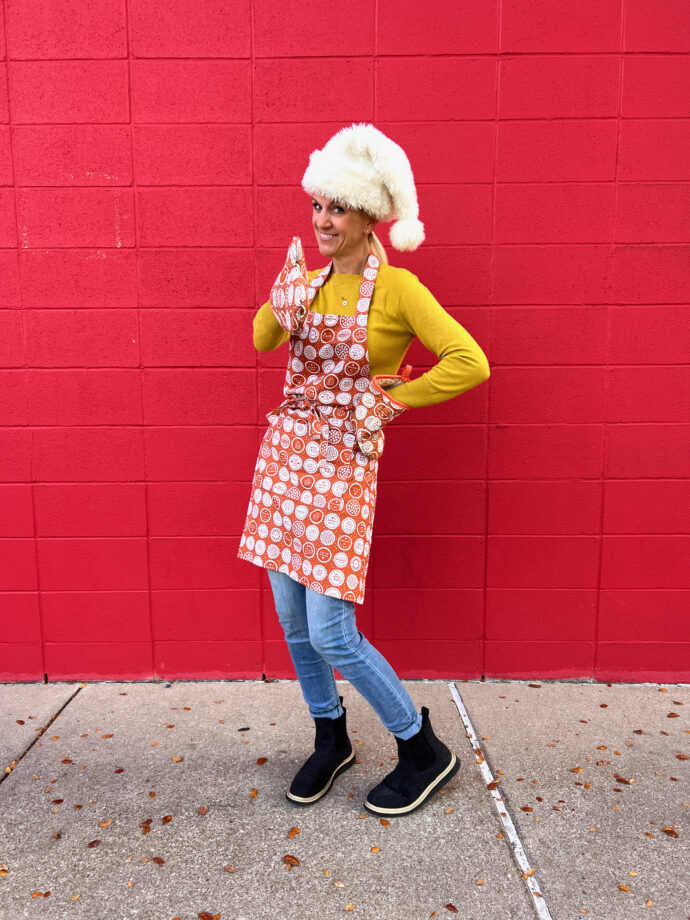
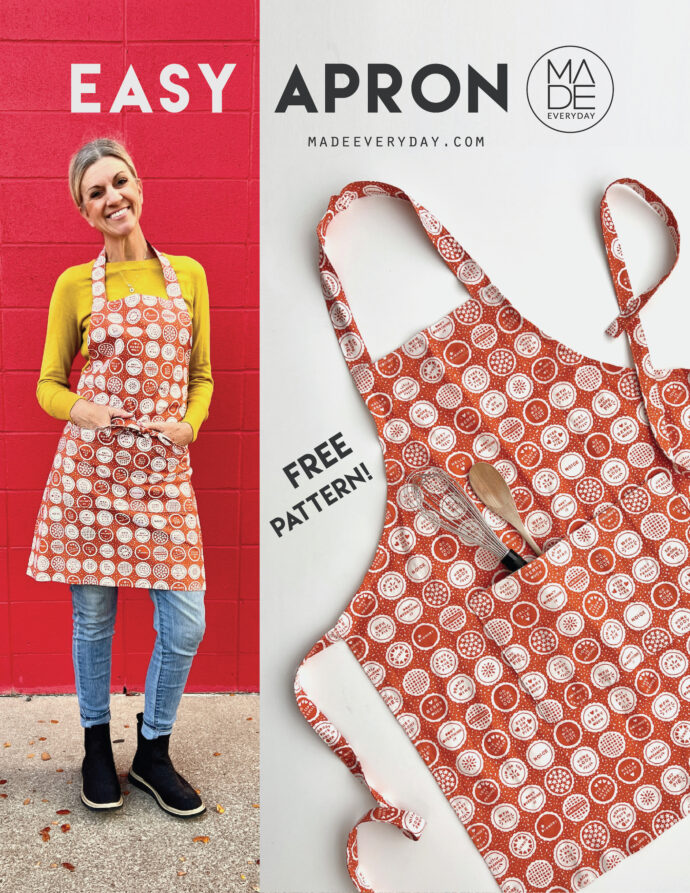
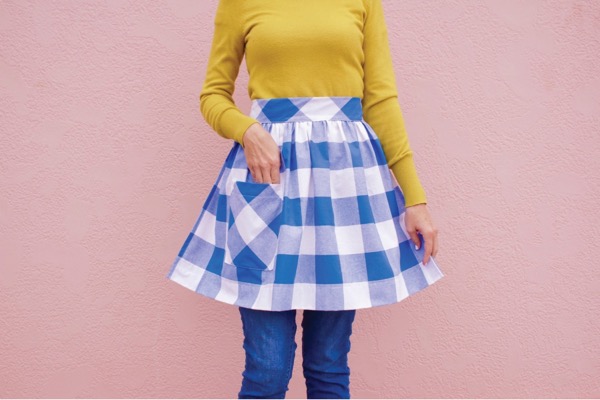
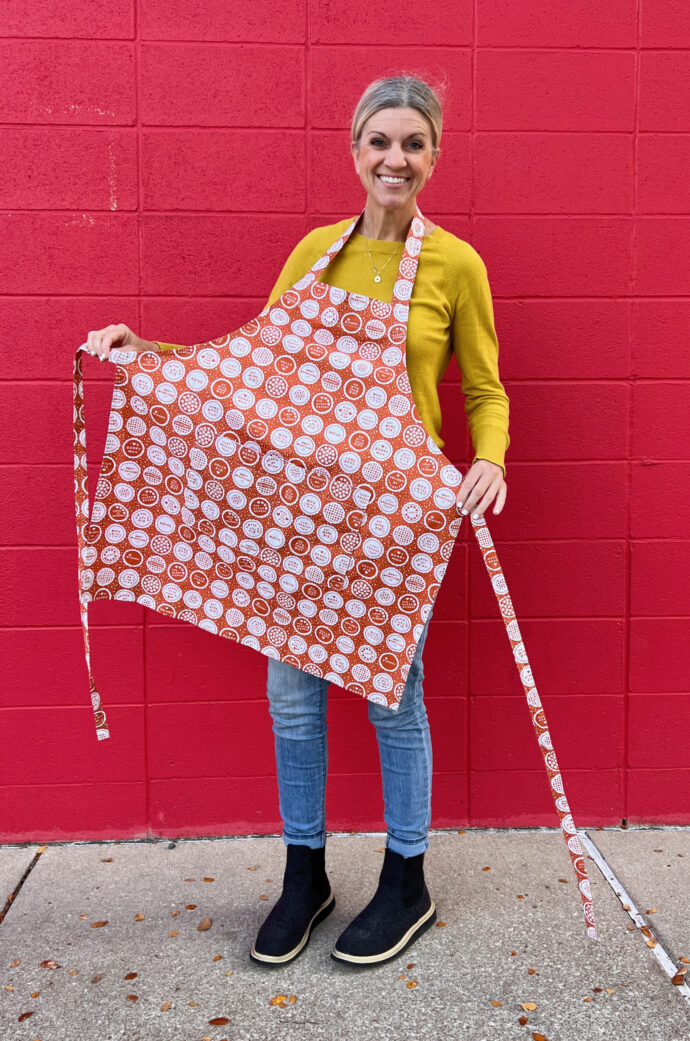
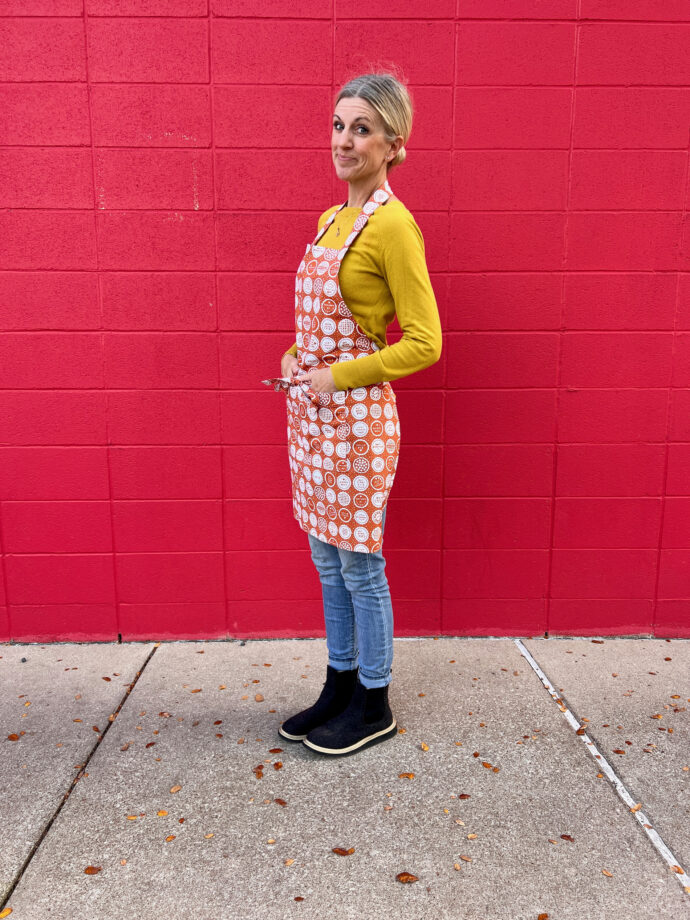
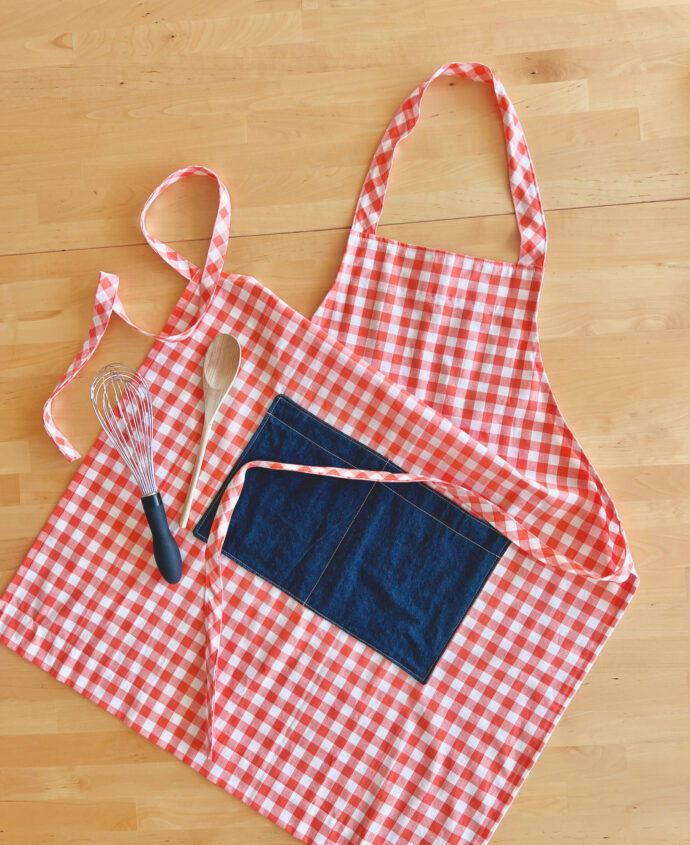
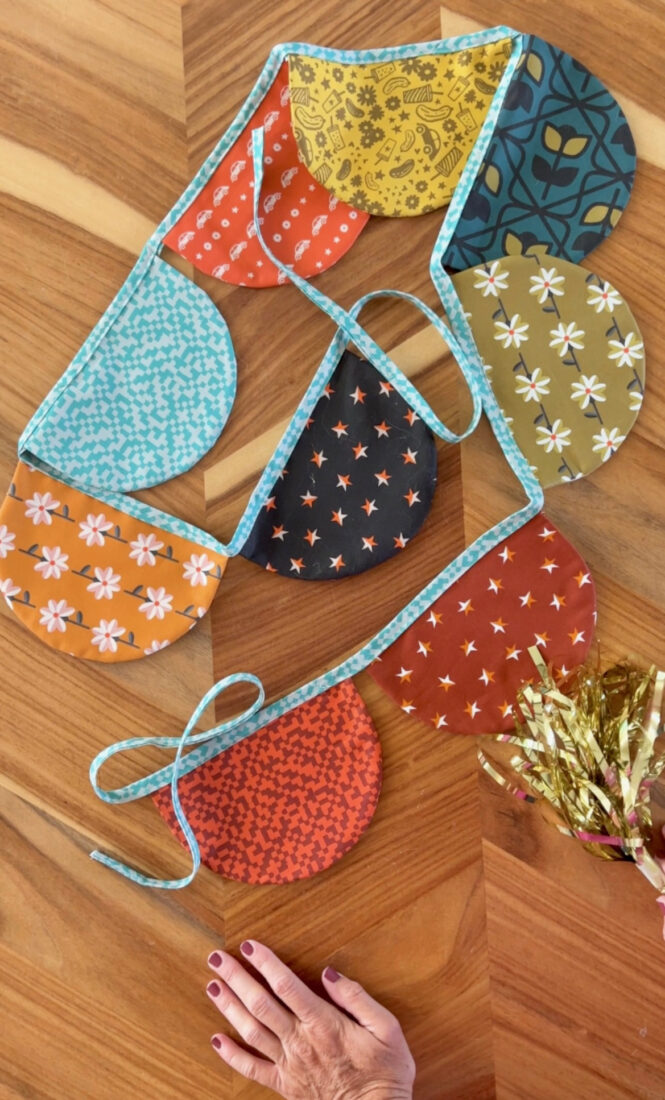
 We’ve sewn a HALF APRON before HERE. But many of you asked for a full bib apron, so here you go! It’s one size fits most. And there’s a pocket!…for chilling, holding stuff, or looking like a baking pro.
.
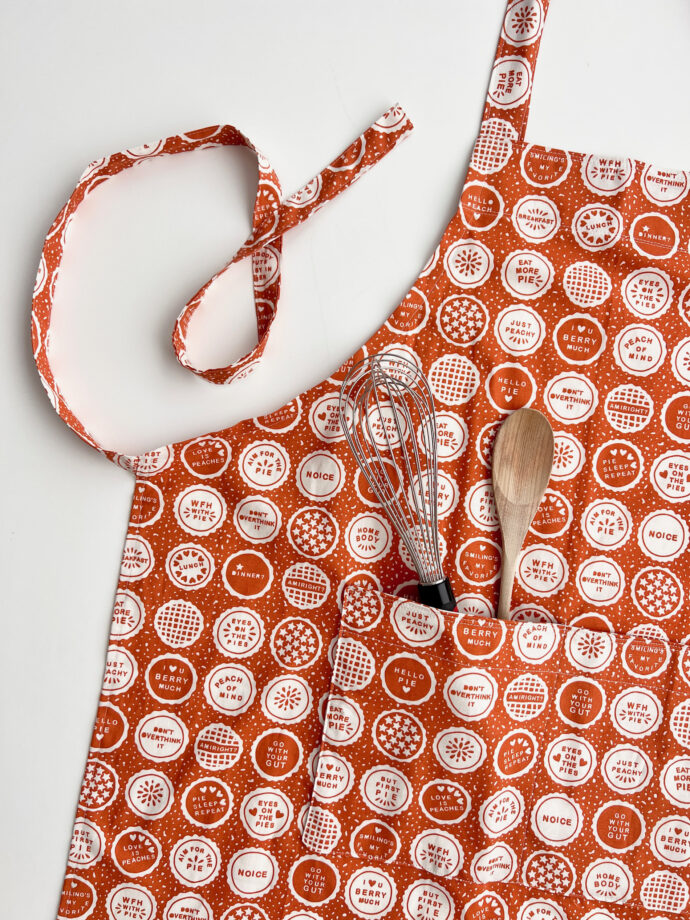
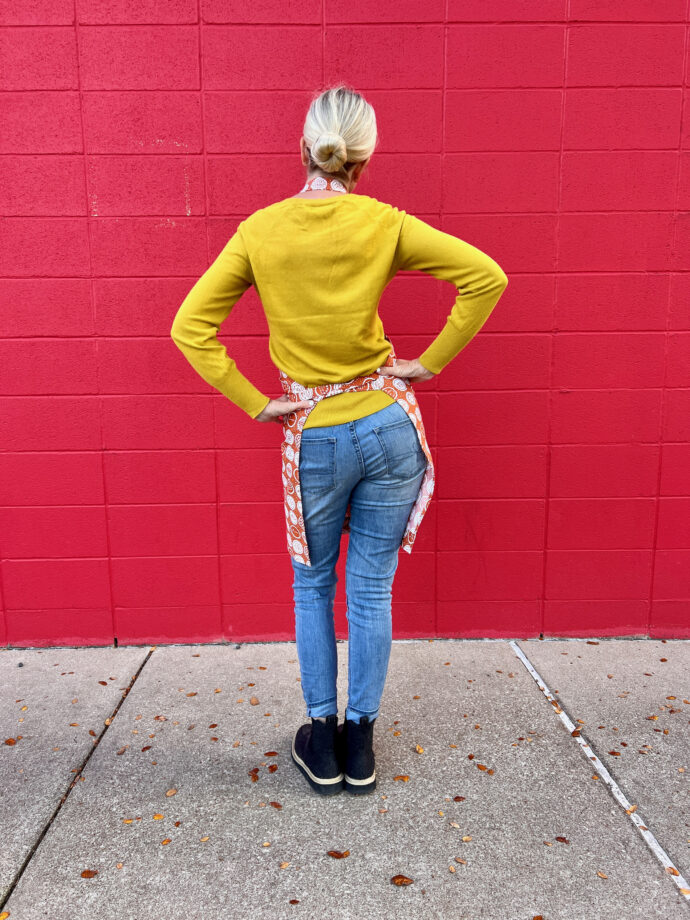 This project is great for beginners (and beyond) because we sew a bunch of straight lines. And you can mix and match fabrics for pockets and straps.

 Okay, LET’s MAKE APRONS!


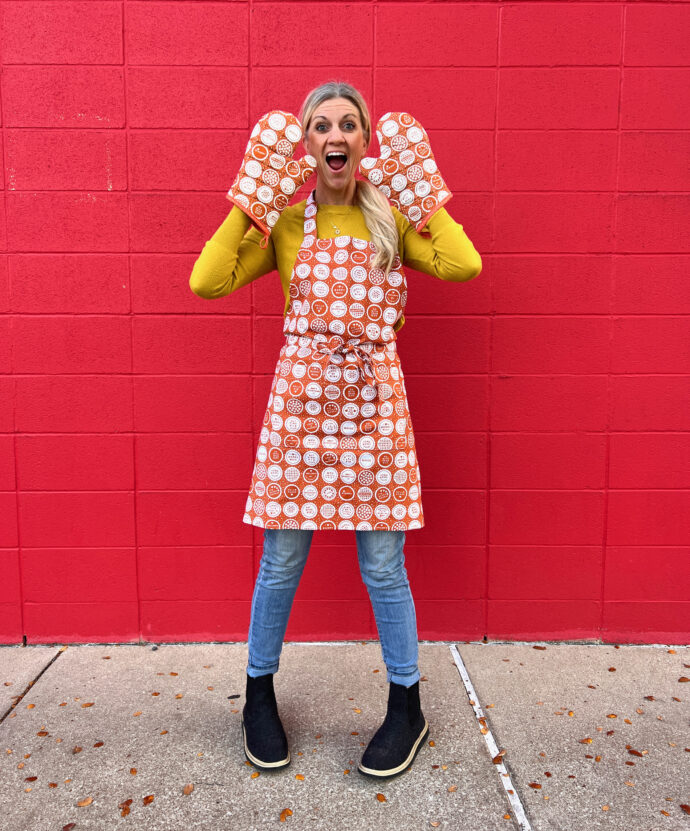
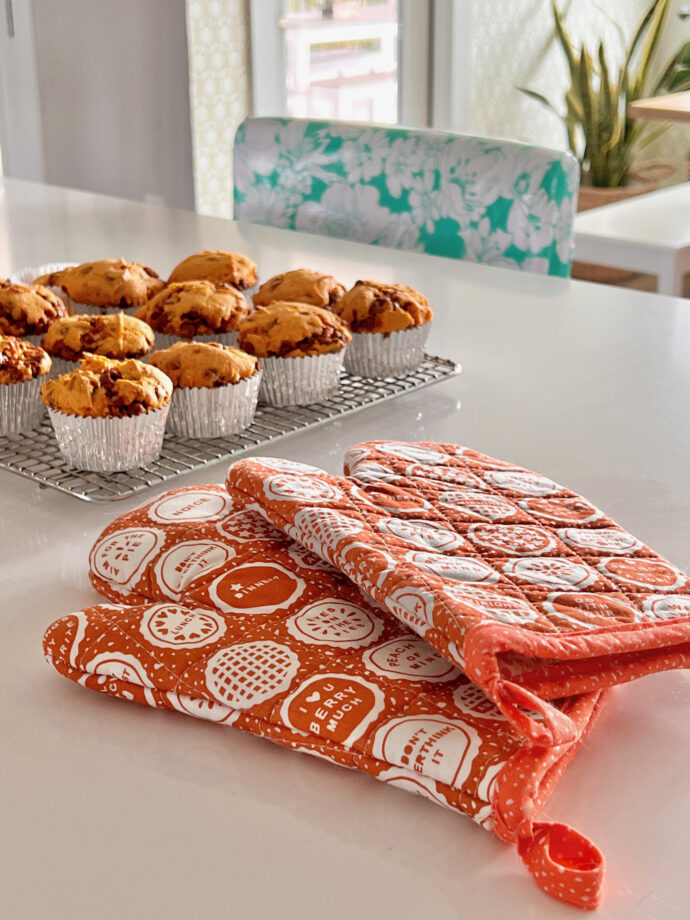
WANT OVEN MITTS TO MATCH?
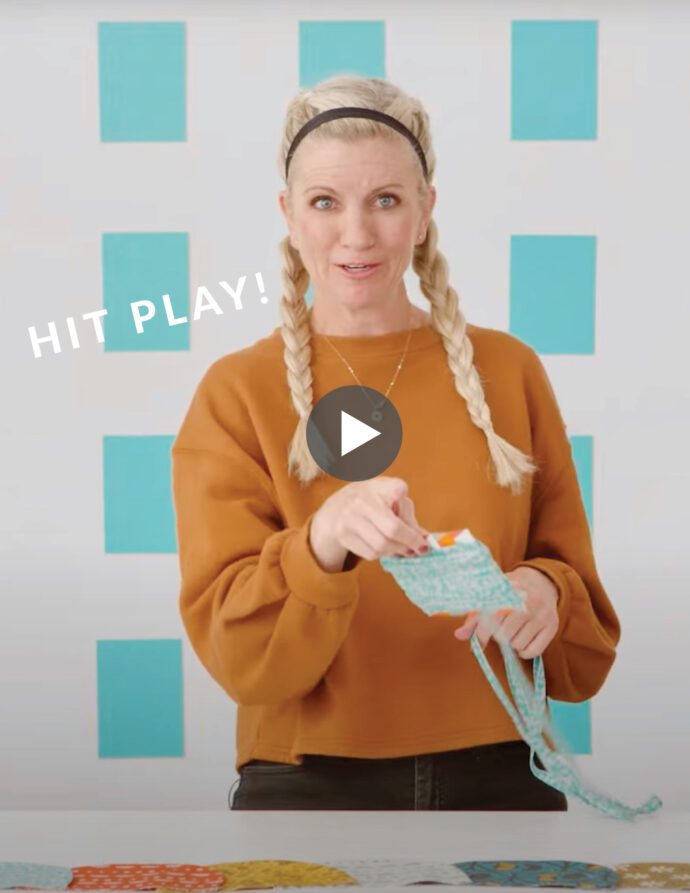
You’ll find that free pattern and video here:
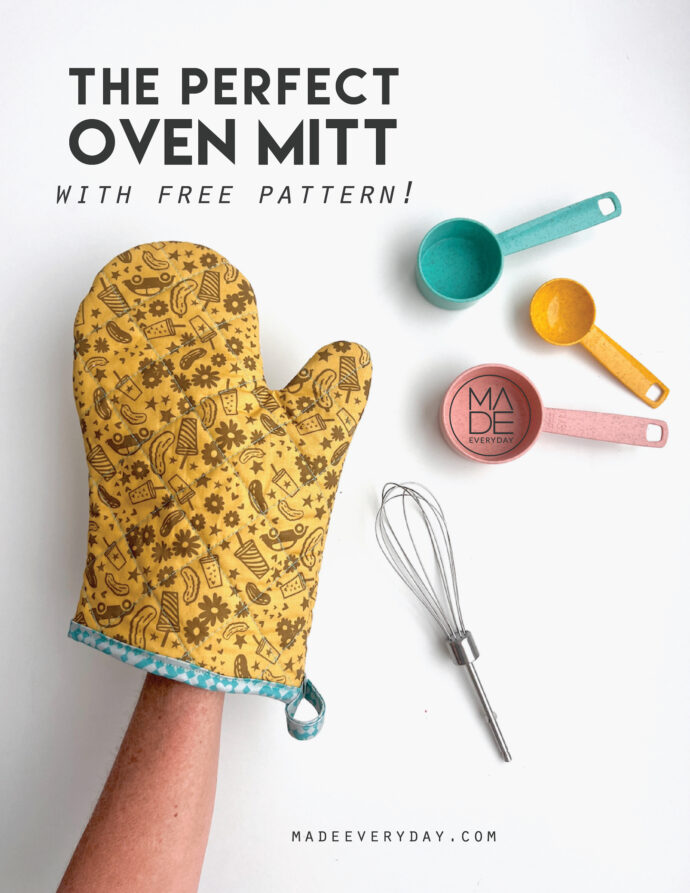
https://youtu.be/vpI6JzKpjBs?si=6noYDtQRworYSqT7
SUPPLIES NEEDED FOR 1 APRON:
• 1 1/2 yards of fabric (about 1.5 Meters)
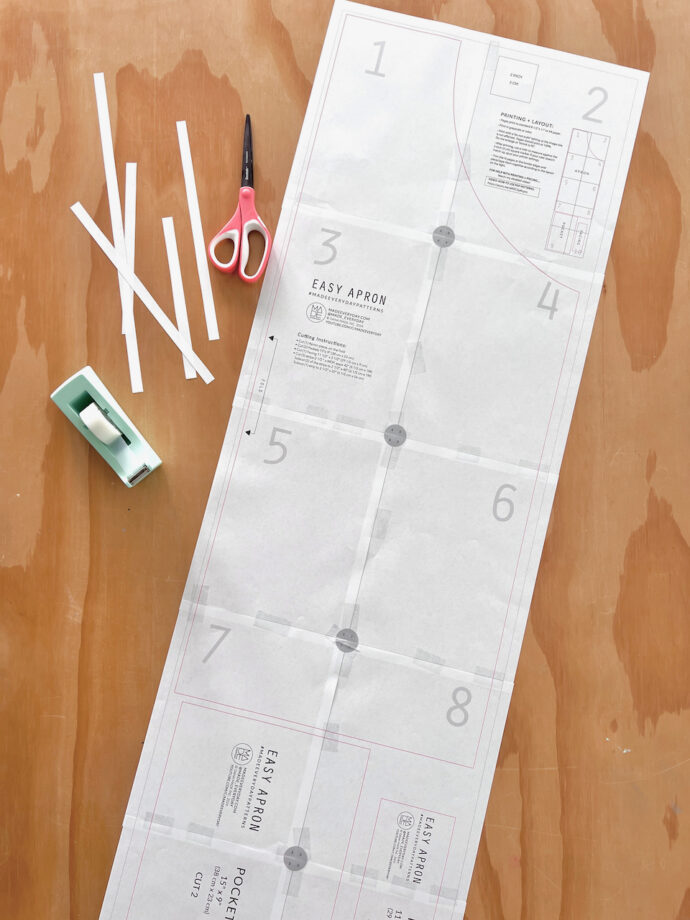
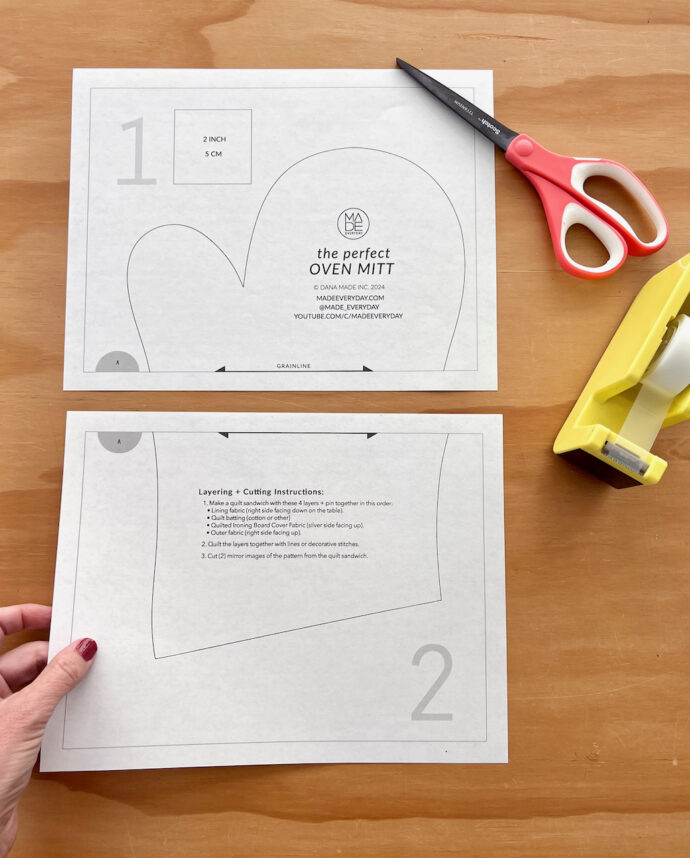
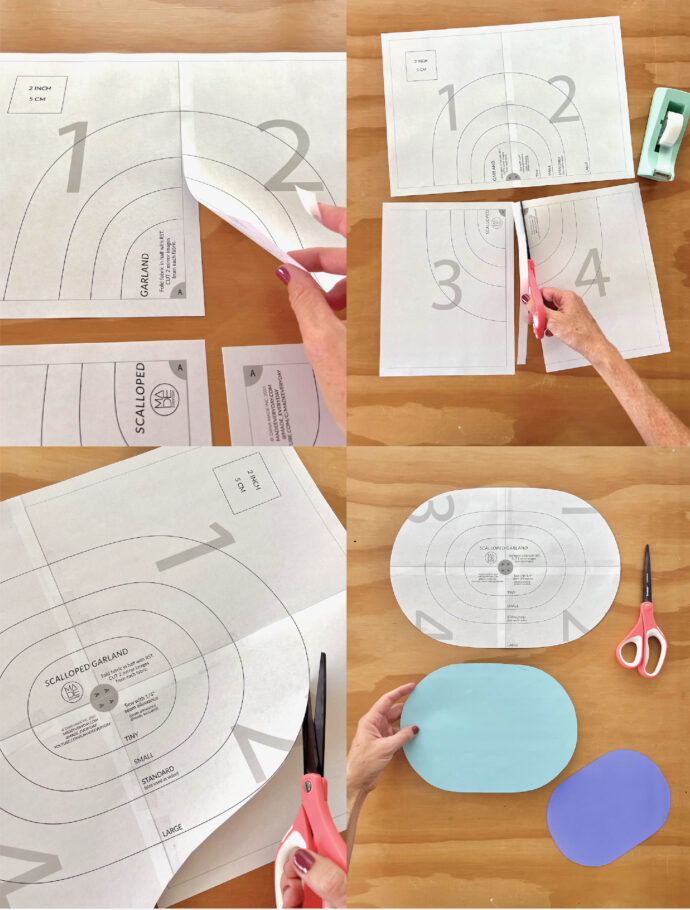
FABRIC CUTTING INSTRUCTIONS (also included in the video and printed on the pattern pieces):
• Cut (1) Apron piece, on the Fold
• Cut (2) Pockets 15”x 9” (38 cm x 23 cm)
• Cut (1) Facing 11 1/2” x 3 1/2” (29 1/2 cm x 9 cm)
• Cut (3) strips 2 1/2 “ x WOF, appx 42” (6 1/2 cm x 1M)
Subcut (2) of the strips to 2 1/2” x 40” (6 1/2 cm x 1M)
Subcut (1) strip to 2 1/2” x 22” (6 1/2 cm x 56 cm)
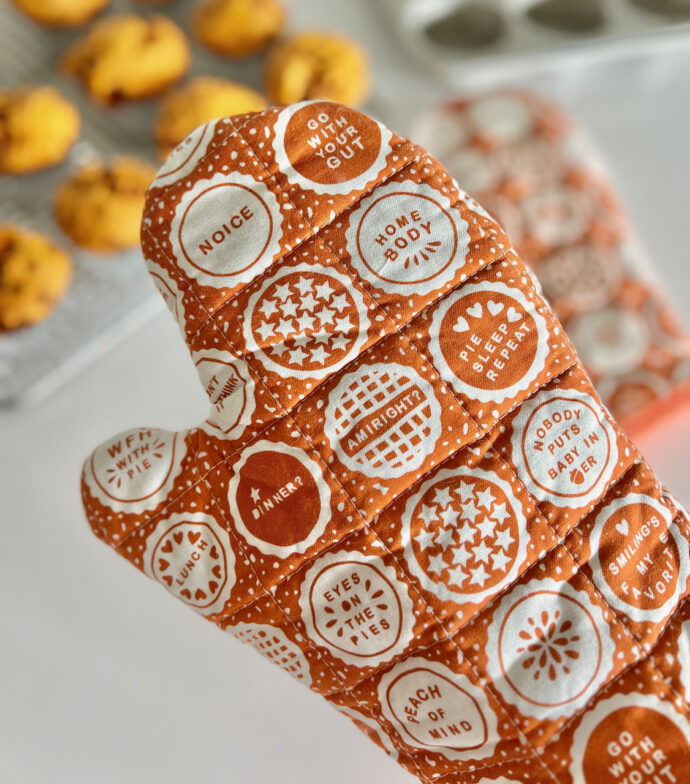
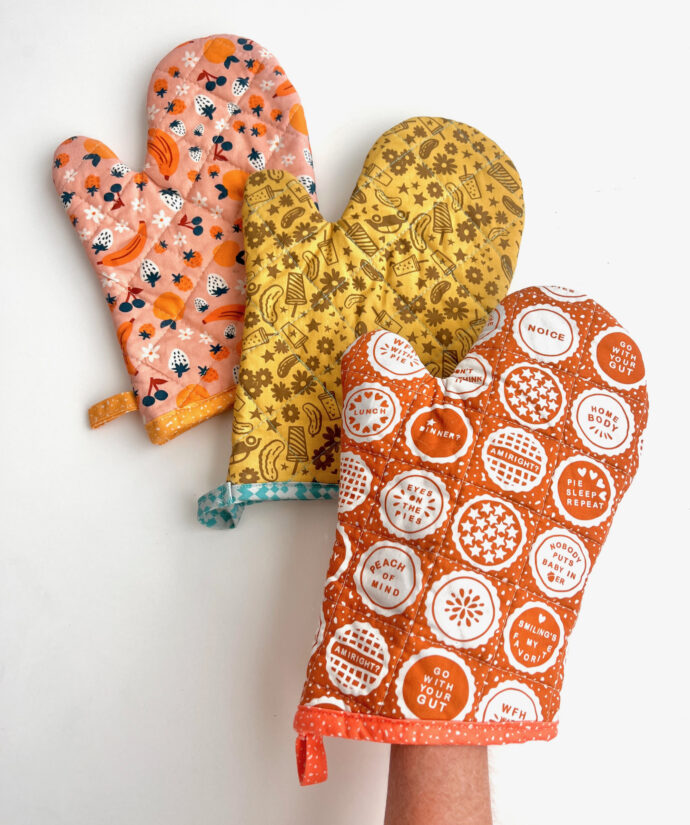
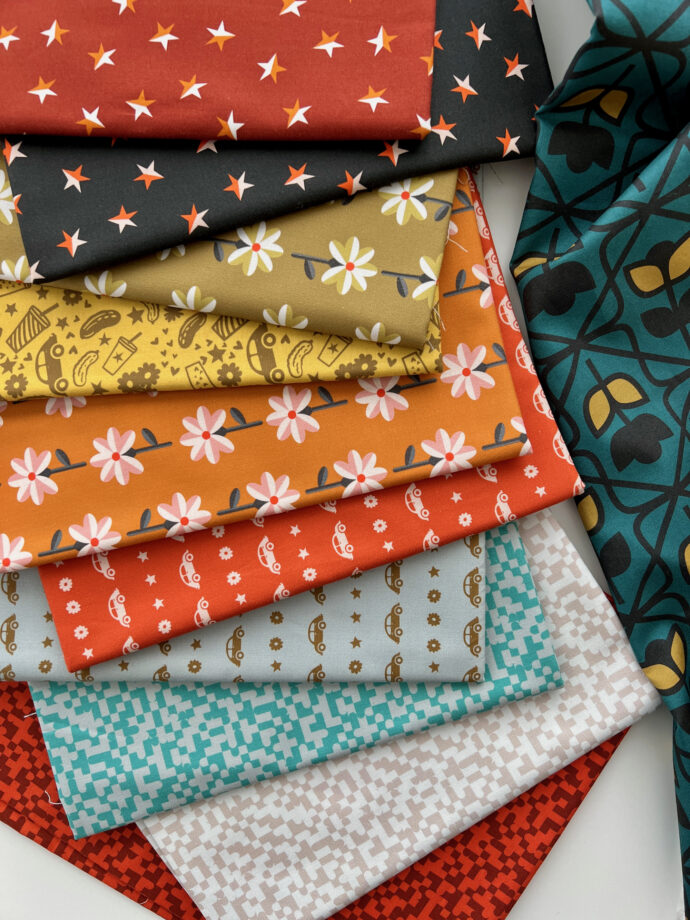
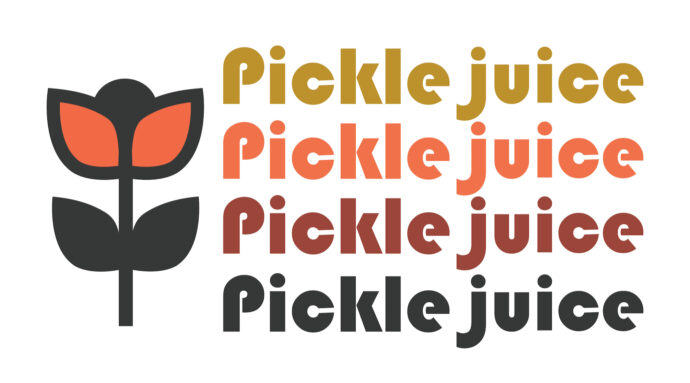
Fabrics used in the project are from MORE PIE and PICKLE JUICE, collections designed by me for FIGO Fabrics.
You can find them in online shops, by searching under those names, or Dana Willard Fabric.
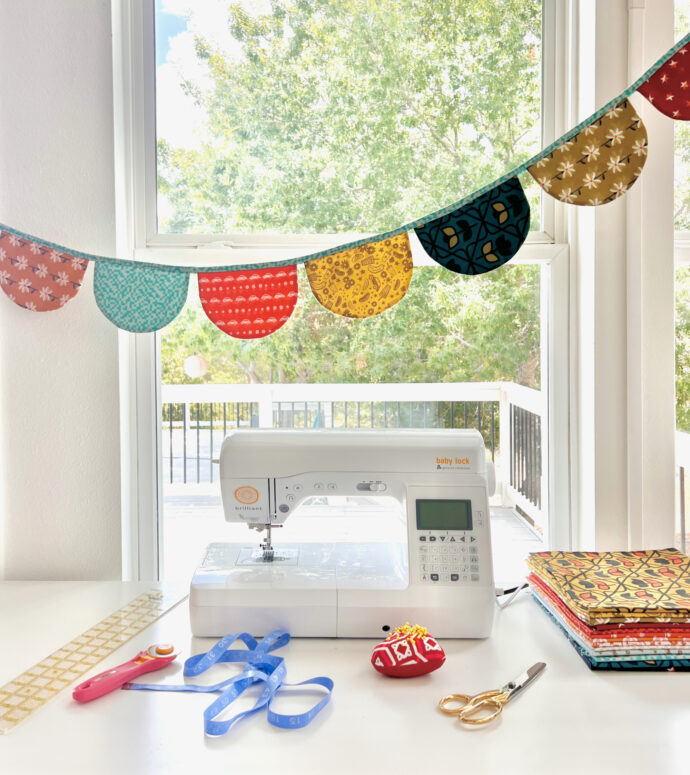
Sewing Machine Recommends:
My favorite sewing machines are the Baby Lock Genuine Series. These are entry level machines that have a broad price range, so if you’re not sure how deep you want to go on sewing haha, these are awesome. I have the Brilliant and Joy machines from this series. These are what I sew with in all of my videos.
You can purchase and read some reviews on this site:
http://shrsl.com/2djmj
Happy sewing!
Tag me online when you share your apons!
#madeeverydaypatterns
@made_everyday
MAKE A HALF APRON HERE:

Happy Sewing


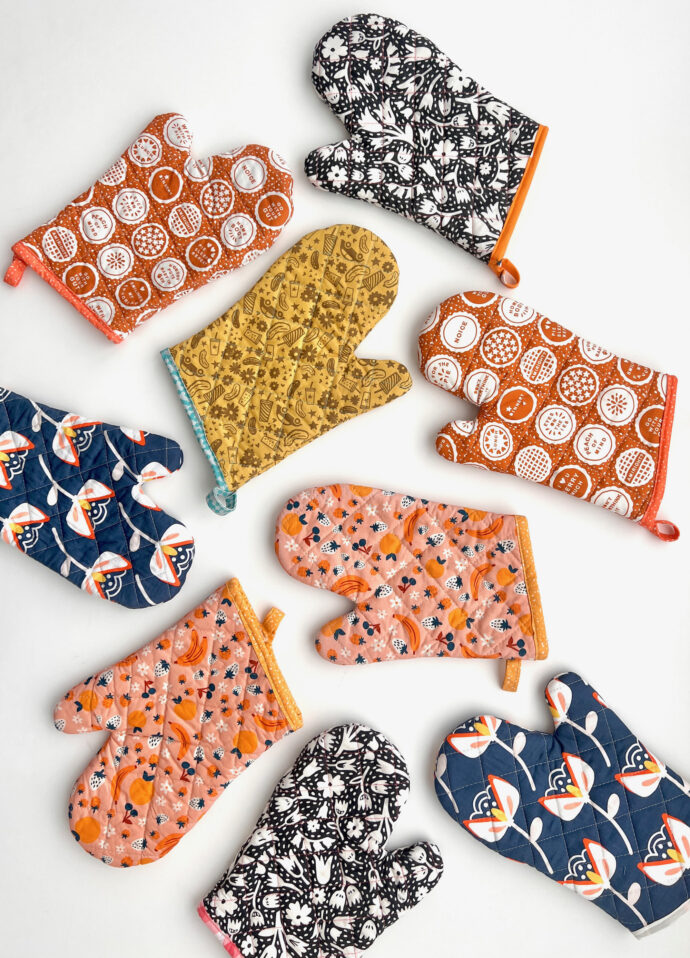 But I wanted to get the pattern just right—not too tight, not too lose, not too long, not too stiff, not too complicated! I should have called it the Goldilocks Mitt. I hope you love it! And make lots and lots for everyone you know.
 Supplies needed to make 1 Oven Mitt:
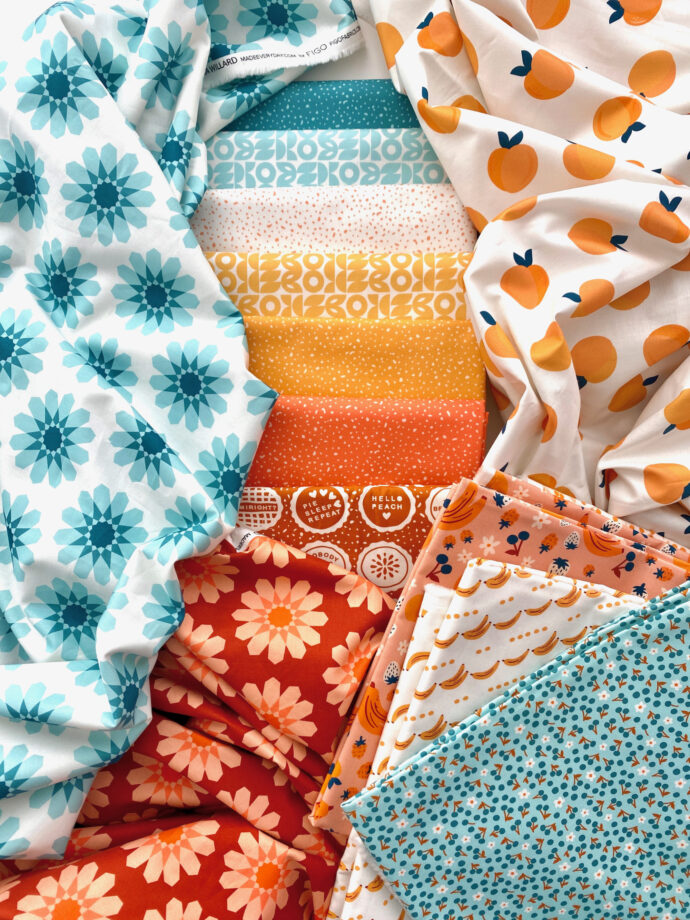

 I cut it out.
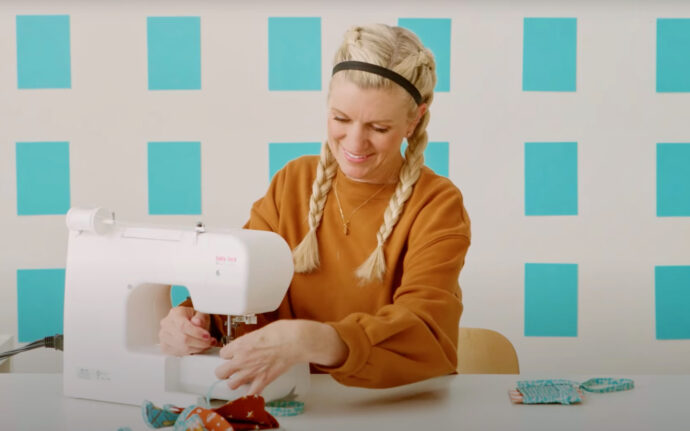


 I’m sure he feels just like I do….


